360-degree Video Panorama – Art Gallery of Alberta Project – 3 of 3
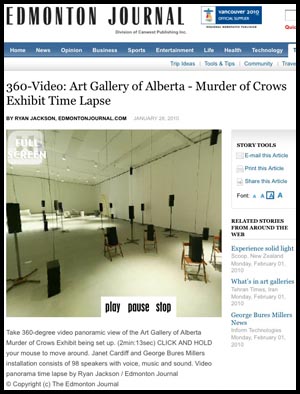
 Watch a time lapse in 360-degree Video ….that’s right…a 360-degree video panorama! Click on the image to the left.
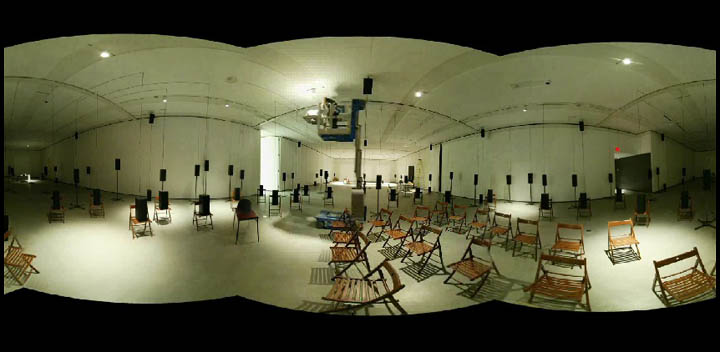
Watch a time lapse of the Murder of Crows sound exhibit being set up at the Art Gallery of Alberta. 98 speakers are set up over a two week period. Time progresses all around you as you click and move your mouse to look all around.Video by Ryan Jackson /Edmonton Journal.
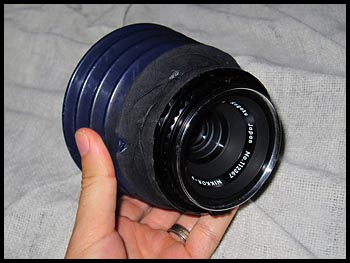
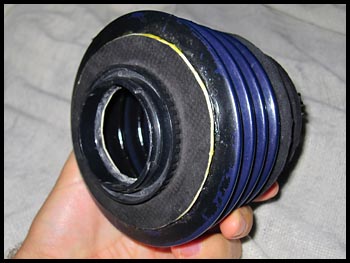
To build make this 360-video I had to build a special rig with three cameras. I used this before for my Indy Panoramas back in the summer. The rig consists of three old Canon 1D d-SLRs with three Peleng 8mm fisheye lenses in a 120-degree offset pattern. The three cameras are wired together to be triggered by an intervalometer. The rig is super heavy and annoying because triple cameras means triple the things to go wrong. If the shutter speed or focus or anything is wrong on one off the cameras then the whole panorama is ruined.
The 1D cameras can only handle 2GB Compact Flash cards which is around 2000 images. I set the intervalometer to trigger the cameras every two minutes which meant I had to change the cards every two days. In total nearly 30,000 images were taken (10,000 per camera).
For post-processing the images, I used Photo Mechanic to organize the images by time taken. I had set the clocks on the cameras to be 1-second apart so when Photo Mechanic sorted the images by time taken, they would go 1st camera, 2nd camera, 3rd, camera, etc.
I then renamed all the images so the files went 0001, 0002, 0003, etc.
I use PTgui to stitch all my panoramas together. It has a great batch process where you can setup a template for your first panorama and then it will auto stitch the rest of the panoramas in file order. This meant that (0001, 0002, 0003)–>Panorama1.jpg , (0004, 0005, 0006)–>Panorama2.jpg
Needless to say this took HOURS and HOURS to process but I just let my laptop chug away overnight for three nights until I had a folder filled with thousands of stitched panoramas.
I then looked through that folder of panos with Photo Mechanic and removed all the boring images where nothing is moving or being installed (ie. at night time, during lunch break, days off, etc).
I then took the folder of usable panorama images and put them into a video using Quicktime Pro’s “open image sequence.”
I set the frame rate to 12fps so that 1606 images would become a 2-min:13-second video.
I then told Quicktime Pro to export the video and I used the Adobe Flash Video Encoder Plug-in to export the video as an .flv Flash video file using On2 compression, 2000×1000 resolution, 12fps, 1200kB/s bitrate. This made about a 20MB video file.
I purchased the panorama player krpano which supports video. I only had to alter a little bit of the .xml code to add a full-screen button and a play/pause/stop button. I plunked the krpano files on a server and embedded it in an iframe in a story page.
The whole project was pretty cool. I hope to use this camera more in the future but as you can see, it is A LOT of work. There are other, far easier methods of doing 360-video but you have to buy expensive cameras and lenses. For this setup I only had to buy a couple more 8mm lenses and use The Journal’s old 1D’s. My rig only shoots stills and you have to make them into a video… for real video check out CNN’s 360-degree video from Haiti. Pretty crazy!
Here are the images of my DIY 360-degree video panorama camera.


